Blog · Workflow ·
How to Cull 2,000 Festival Photos Fast
One pass, one key, no waiting for previews. The culling method I use after concerts and festivals, and why the software you cull in matters more than you think.
A festival day easily ends with 2,000 frames, and the client wants a selection soon. That evening is won or lost in the cull, not in the edit.
One pass, one key
The rule from my Lightroom workflow: go through the shoot once, full screen, and flag only the keepers. Don't rate, don't compare six near-identical frames, just pick or skip. For a club show I keep 40-80 images; for a festival day, a few hundred.
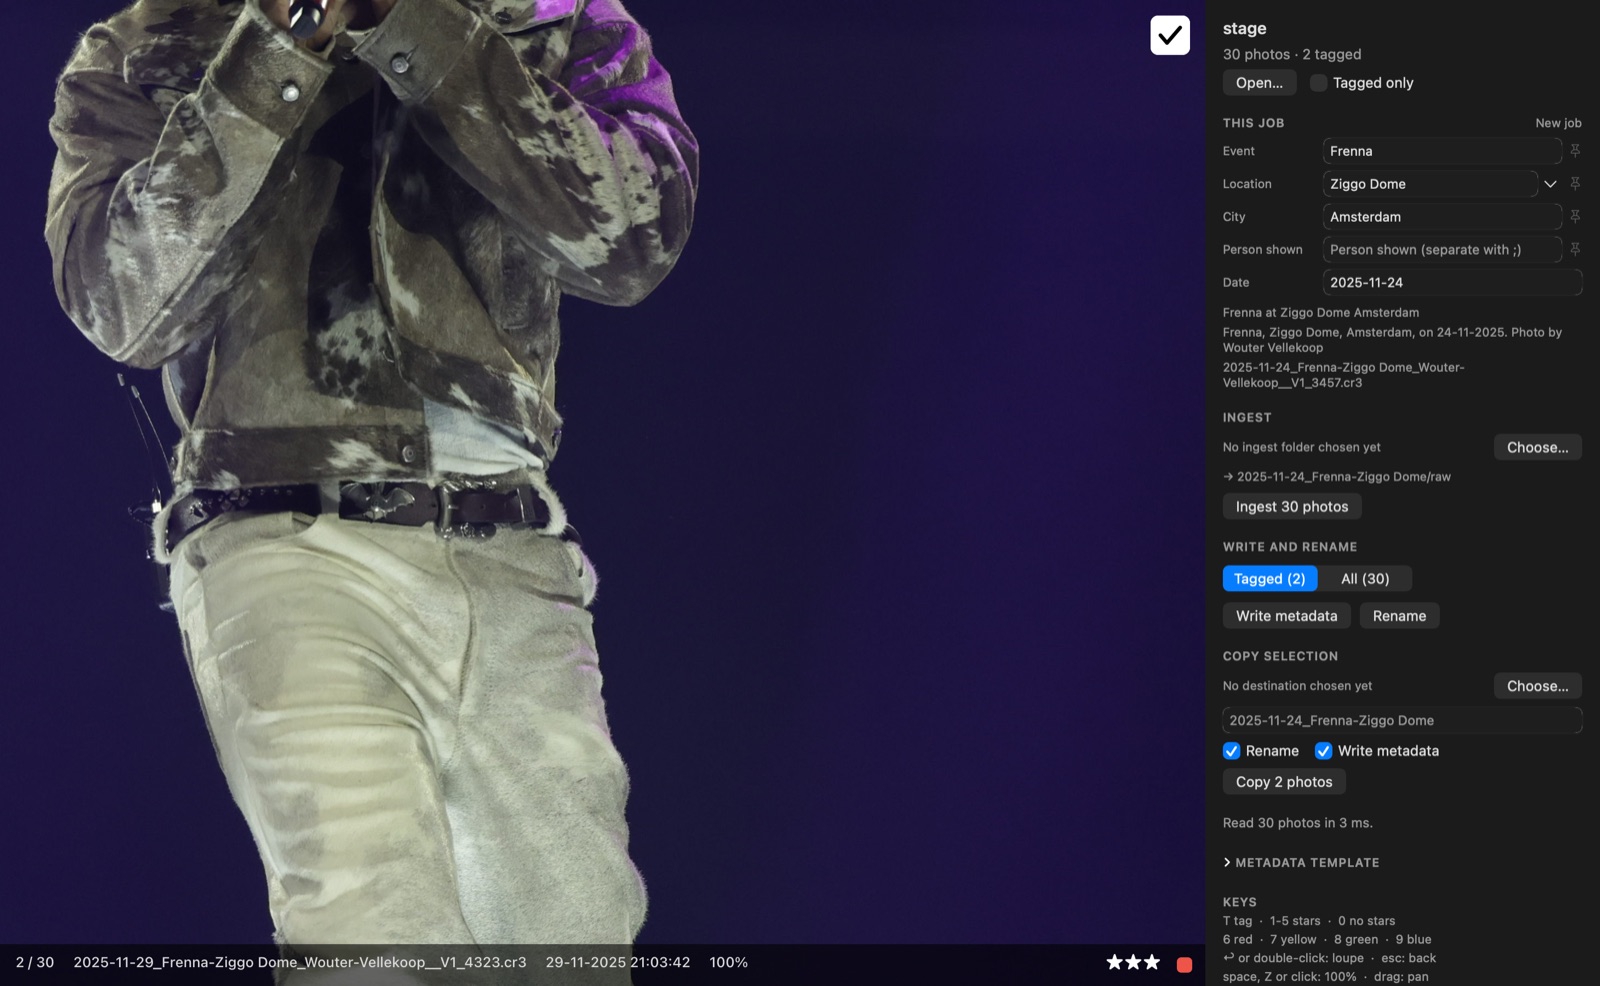
In Snelkeus that key is T. It's the same tag Photo Mechanic uses, so the two apps read each other's selection.
Why one key? Because every extra decision costs time. A star rating asks how good a frame is. A tag only asks whether it's in. You can answer the second question before the next frame is on screen.
Full screen, not the grid
The grid is for overview: seeing where a song starts, spotting a burst, skipping the soundcheck. The decision happens full screen, one frame at a time. Return opens the loupe, the arrow keys move on.
Zoom only when it matters
Don't check focus on every frame. Check it on the frames you're about to keep, when the moment is right but you're not sure about the eyes. In Snelkeus, space, Z or a click shows 100% right where you click, so you land on the eyes instead of the middle of the frame. Esc takes you back.
Bursts: pick one, move on
A burst is ten frames of almost the same thing. Pick the one where the hand, the mouth or the light is best, tag it, skip the rest. If two are equally good, tag one and move on. Comparing them costs more than it's worth.
Never wait for a frame
This is where the software comes in. If every frame needs half a second before it's sharp, a cull of 2,000 frames costs you more than 16 minutes of pure waiting, and it breaks your rhythm every single time.
Snelkeus shows the JPEG the camera embedded in the raw instead of developing it. On a Mac mini M4 Pro with real concert files, a photo is on screen in about 35-50 ms, and it loads ahead in the direction you browse: in tests at 4 and 8 photos a second, every frame was already sharp when it appeared. Why that works is in this piece on embedded JPEGs.
The second look
After the first pass, ⌘T shows only the tagged photos. Go through them once more, faster. Drop the weak ones, and use stars or colour labels if the delivery splits up. 1-5 set stars and 6-9 set red, yellow, green and blue, the same keys as in Lightroom.
One thing to know: Lightroom Classic reads stars and colour labels when you import, but not the tag. So before you import, give the keepers a star, or copy them to their own folder with Copy selection.
Then caption and go
With the selection made, captions and file names are one step away: fill in the job once, write the metadata, rename. That's in IPTC metadata for concert photos, and getting the cards in is in my ingest workflow.
The short version
- One pass, full screen, one key: tag the keepers.
- Grid for overview, loupe for decisions.
- 100% only for the frames you're keeping.
- One frame per burst.
- A second look in Tagged only.
- A star or a copy for Lightroom, then import.